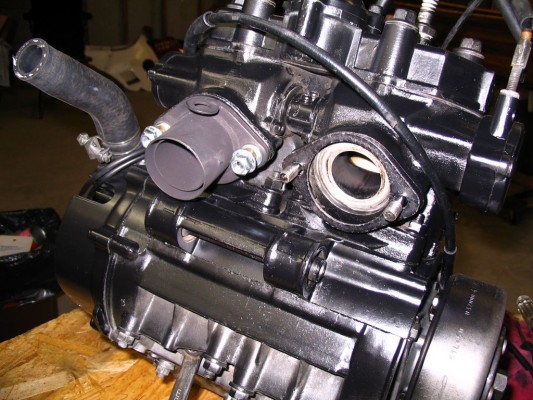
The engine had been rebuilt just a few hundred miles ago (with receipts from the previous owner), so after cleaning and painting, I checked the pistons/cylinders visually from the exhaust ports and everything looked really good. All the seals looked good and no leaking, seeping or other problems. Now we are ready to start reassembly.
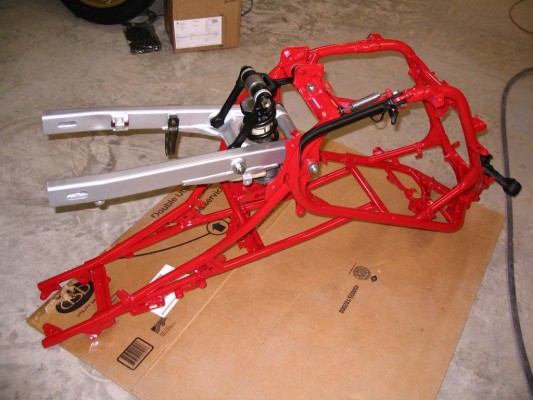
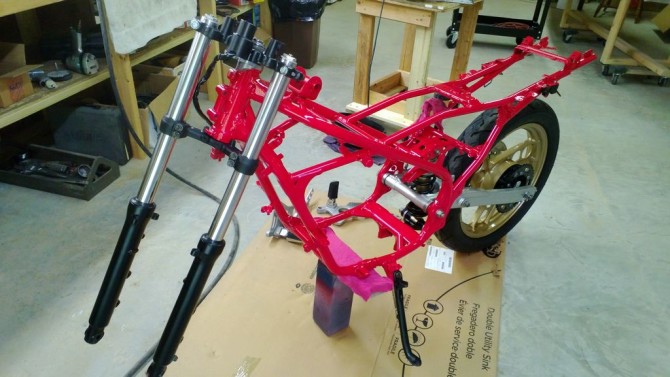
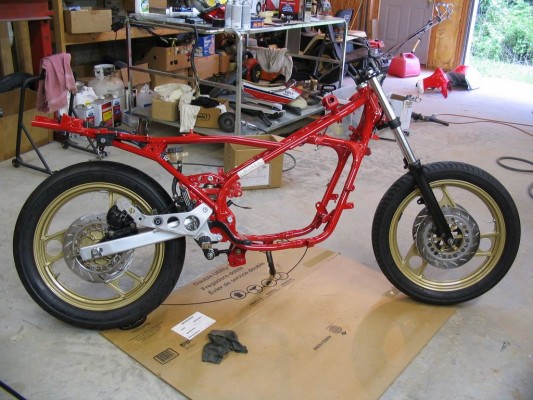
We start by reassembling the swingarm and rear linkage. All the bearings and bushings were cleaned and re-greased.
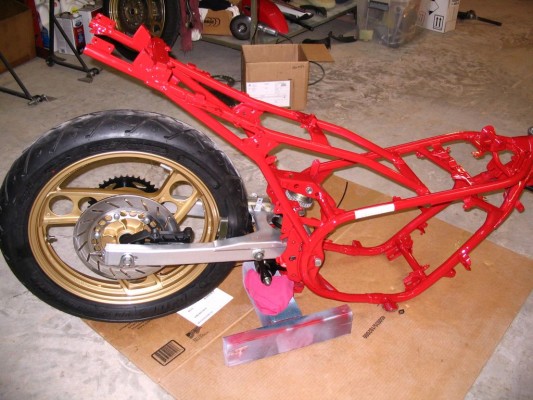
Next rear wheel-
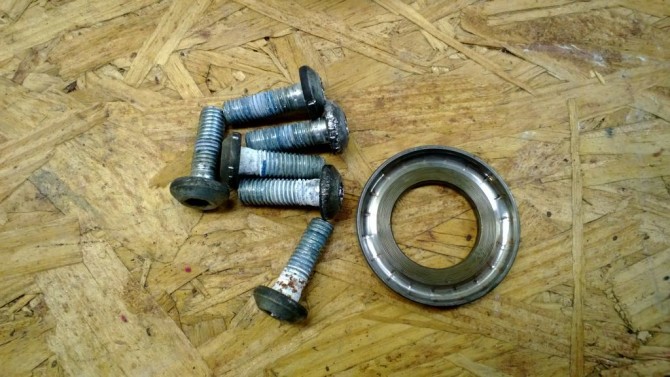
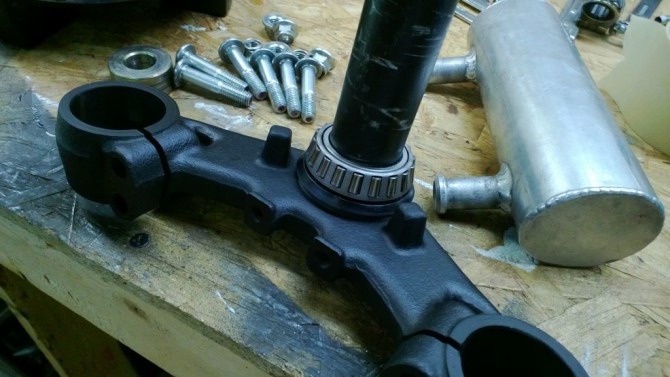
The steering head bearing were badly dimpled and notchy so I installed a set of tapered bearings-
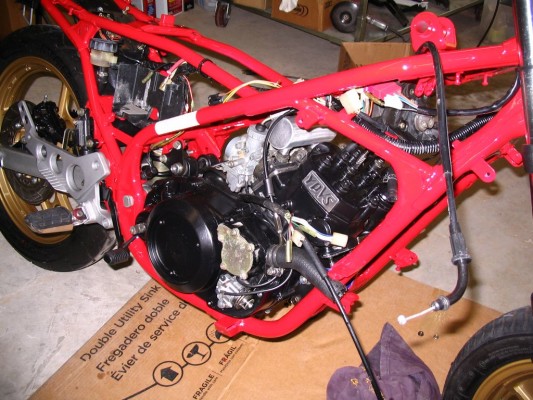
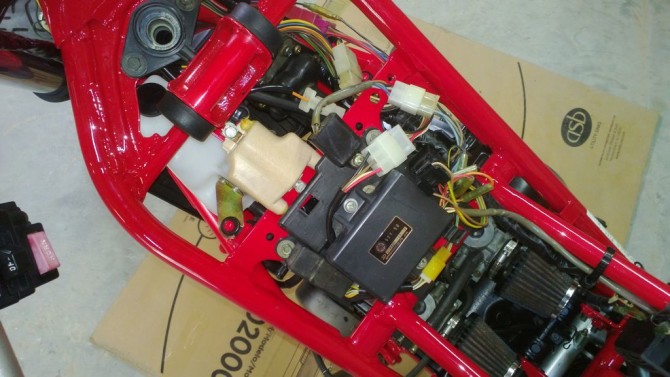
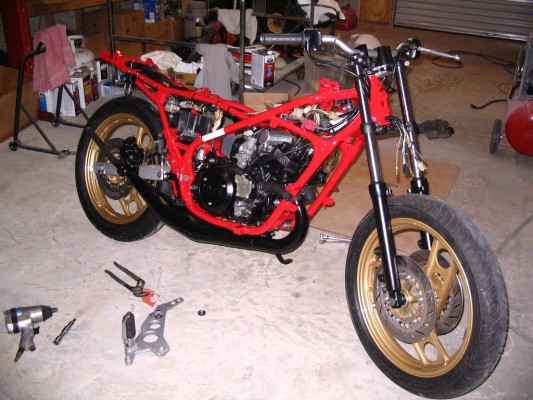
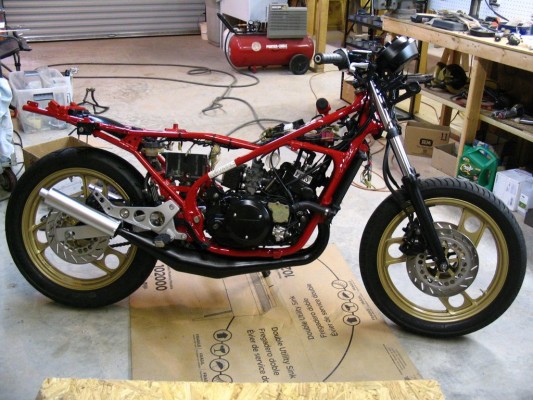
Now its time to install the engine, wiring harness, exhaust, etc. It goes a lot faster in the pictures than it did in real life! I took lots of time to check and make sure everything fit properly and had the right clearances. The exhaust pipes were especially tough since they were old and probably didn’t fit all that well when they were new. I cleaned the wiring harness with purple power cleaner and the plugs with brake clean spray and they came out looking almost brand new. Lots of time and old toothbrushes!
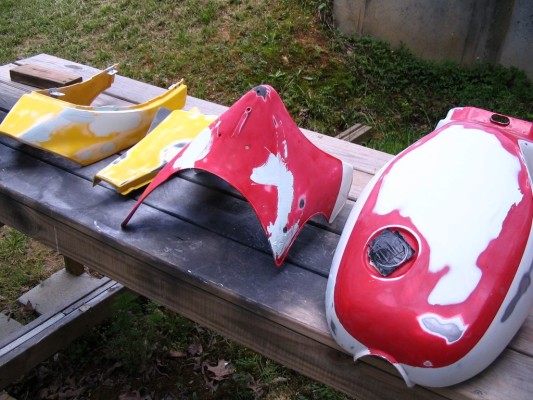
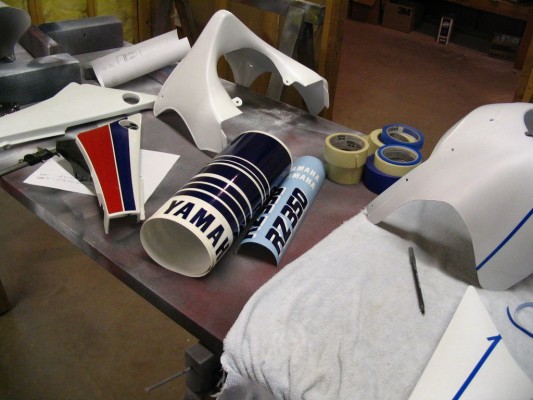
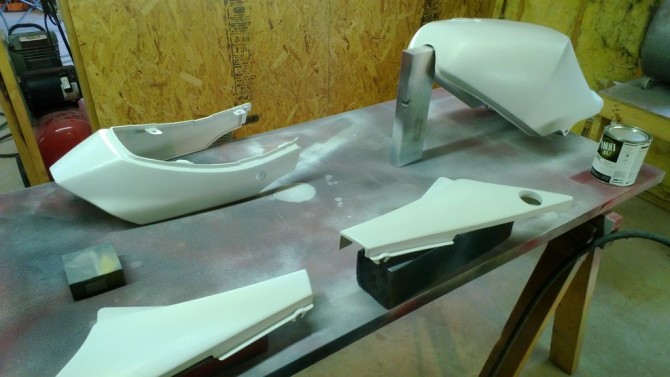
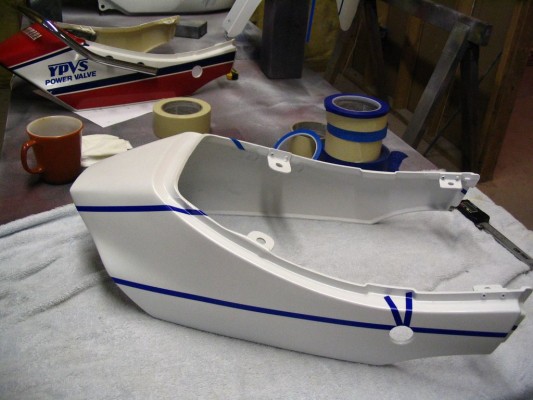
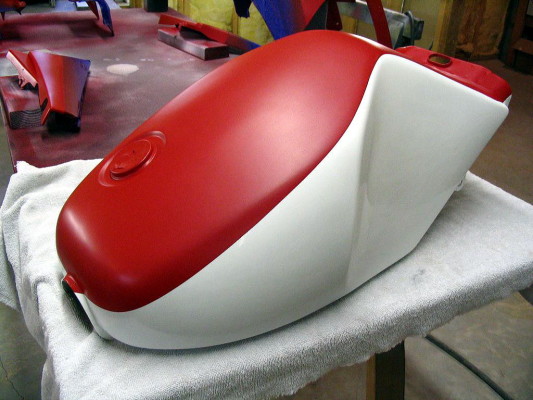
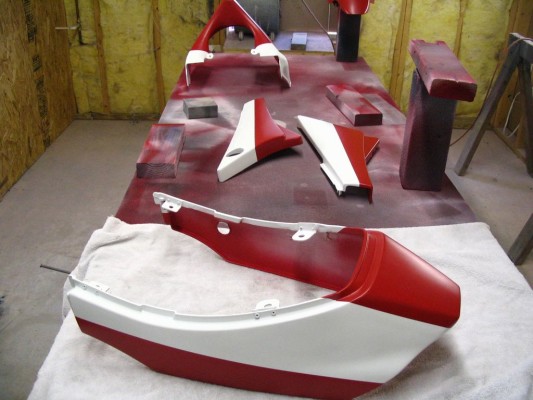
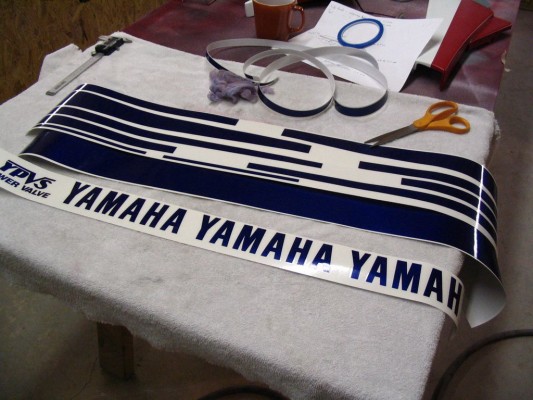
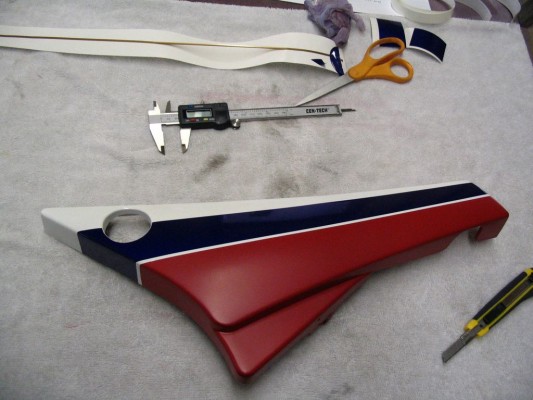
Now we start on the body work and paint… most of the plastic was in decent shape and I had a couple of sets of tails and side panels so I took the worst of them and bead blasted all the old paint off and filled the grab-rail holes since I didn’t want the rail on the bike. All the stripes were measured with a caliper so they could be reproduced accurately.
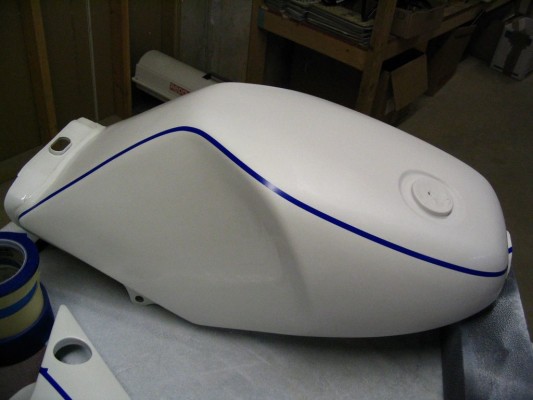
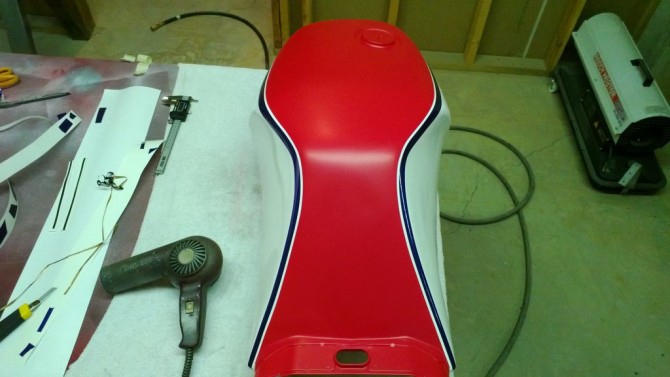
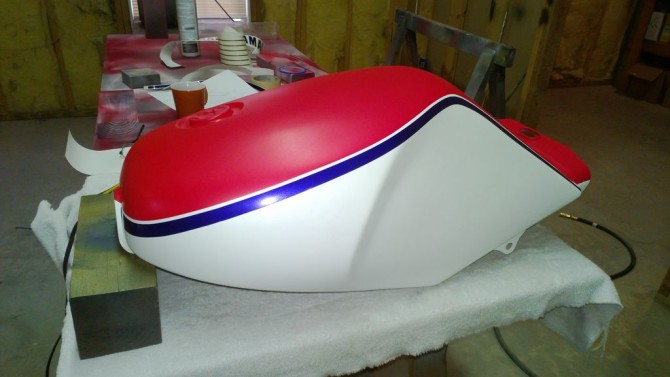
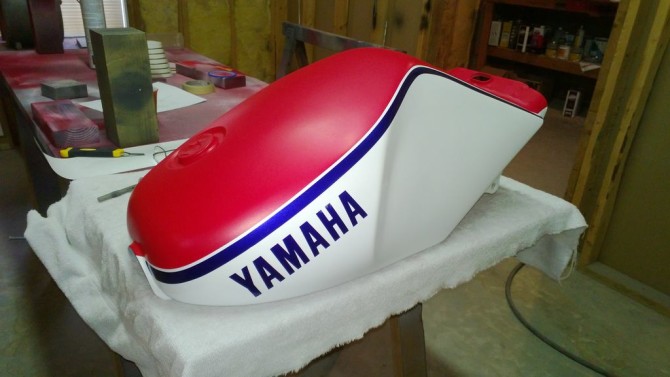
Before I started all the body work, I measured all the stripes and distances between the various colors so I could accurately reproduce the original paint scheme. On the original panels, the bike is a mix of paint and decals. Most of the red was real paint but the blue stripes were vinyl and a lot of the pearl white between the colors was vinyl. I measured the tank stripes, side panel stripes and logo decals with a caliper and sent the dimensions off to my friend at Tapeworks Graphics in North Carolina. The original blue is not a metallic but I wanted a little more pop so I picked a color that matches the original but has a fine pearl in it. He made the decals for me and I went to work installing them…
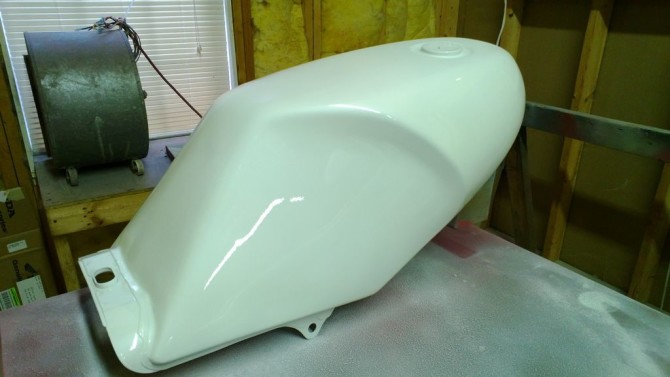
It is really important to get the white stripe between the red and blue the correct thickness or you will instantly notice that things don’t look right or match up properly. This was especially hard on the gas tank since i had a pretty thick vinyl stripe that needed to make several compound curves-
0 Comments